
Making a simple mask…
This project doesn’t require a lot of skill and can probably be completed in less than an hour.
It’s simple if you want to make your own sewn face mask. You don’t need more than scissors, a needle and thread. Easily done with the simplest of sewing kits!
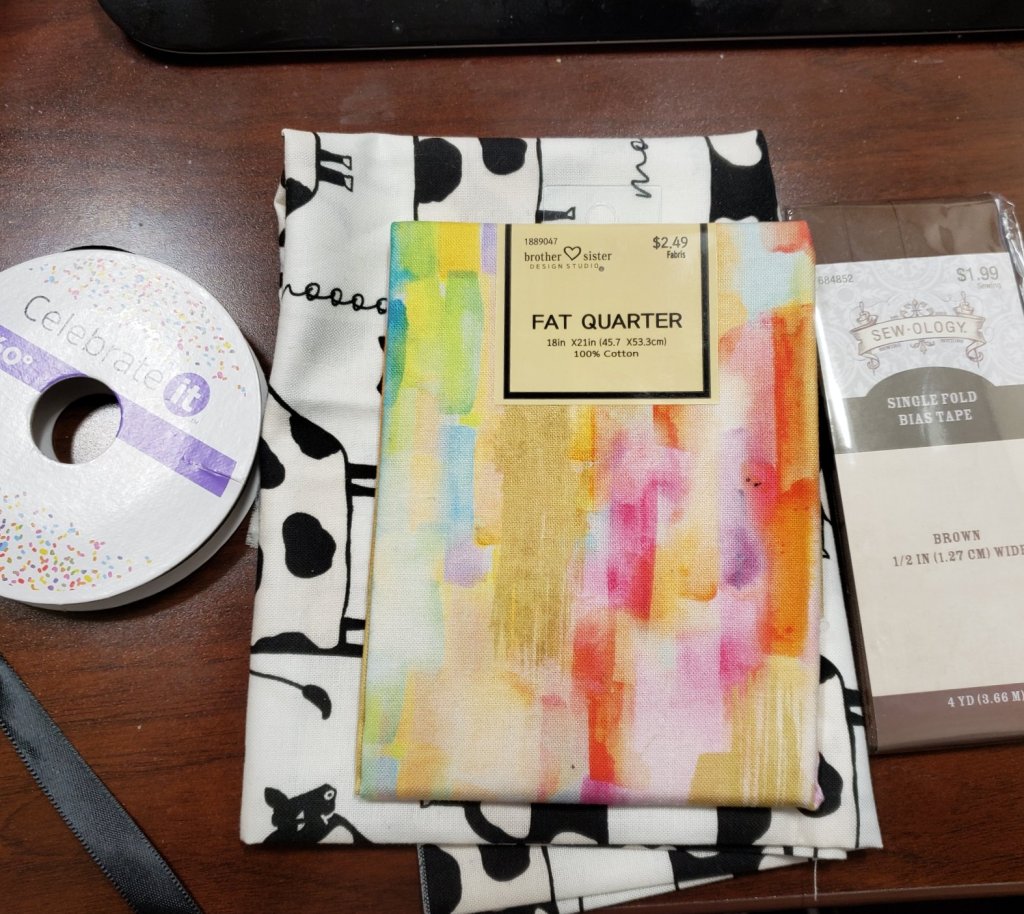
First, here’s the supplies you need. It isn’t much and you can get it at your local Walmart or craft store.
- Fabric – this is as easy as buying what is called a Fat Quarter. It’s just a square of fabric and you can make two masks from one fat quarter. You could also get a small remnant from the fabric department of a store. They sell these odd pieces fairly cheaply.
- Hem tape or craft ribbon – a lot of mask have elastic, but not necessary and it’s getting hard to find. You can buy hem tape or ribbon and it is cheap and works well.
First thing, you want to open the fat quarter and where it folds in half, cut it to create two pieces.

With the print side down you can fold three edges in to create a more finished edge. You can iron it you want, or if you don’t have an iron handy you can press and rub along the fold until it holds.

Now, fold the fabric in thirds, with the unfinished edge inside.

Now you’re ready to start sewing. I would suggest that you make your thread doubled about twice the length of the short side of your folded fabric. That gives you plenty of thread without making it so long that it tangles.
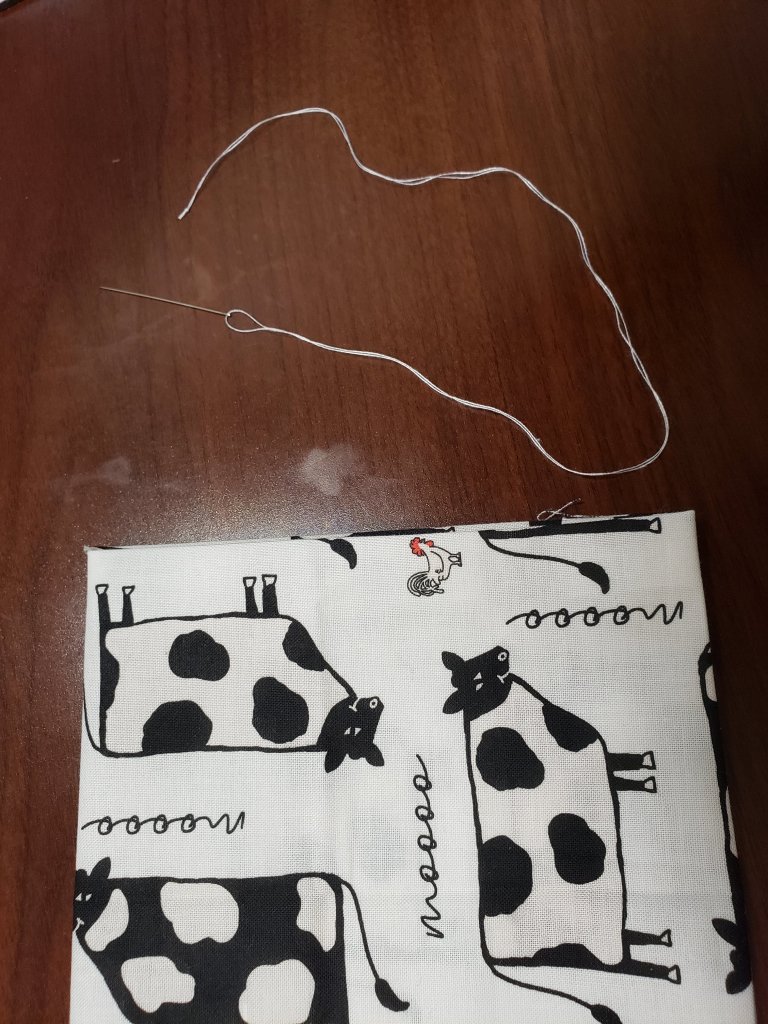
Tie a knot at the end of your thread and cut off any long threads.
You can easily hide the knot by starting your sewing with the needle coming out from the inside of a fold.

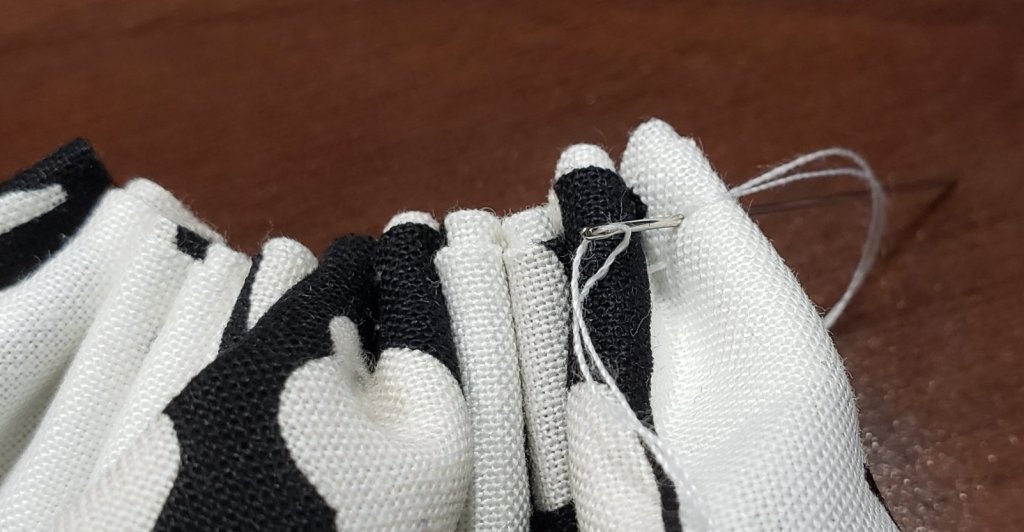
Now, you are going to make a simple long stitch, wher you will go through the fabric from one side all the way through all layers of fabric, then go back into the fabric about half a centimeter down, coming back up on the side you started. You don’t have to pull your needle all the way through every time, you can have several stitches on the needle as you go and pull it completely through every few stitches.

Once you have your stitches down the length of the fabric, you are going to start pulling the thread and pushing down the fabric to create gathers in the fabric. A couple of stitches at the end of your gathers will help hold the gathers while you tie off the thread.


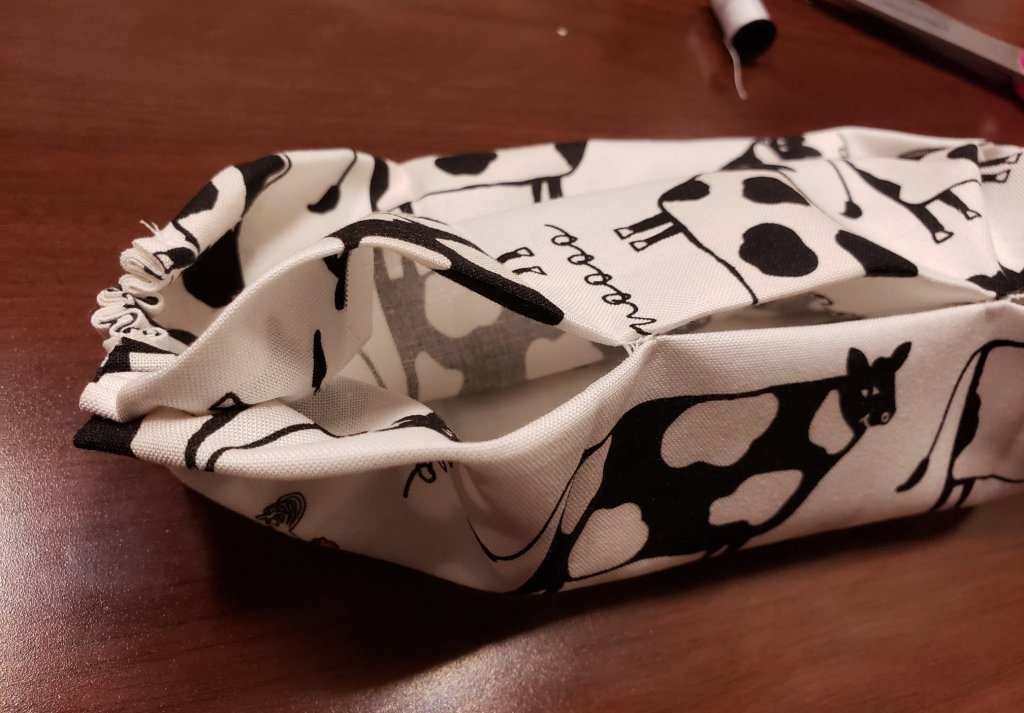
Now on the long side that has two folds, you don’t have to close completed. You can create two tracks of just a couple stitches about a third of the way down from both sides. This will be enough to hold the side closed, but also leave it open if you want to add additional layers of barrier. Some people add coffee filter paper between the layers because it has smaller weave for particles to pass through. By not completely closing this side it leaves that as an option.
Now you want to attach the ties. First, find out how long you need to cut the ties. I usually do about 24 inches long, but if it is your first mask, you might want to start with 36 inches. You can always cut smaller if they end up too long.
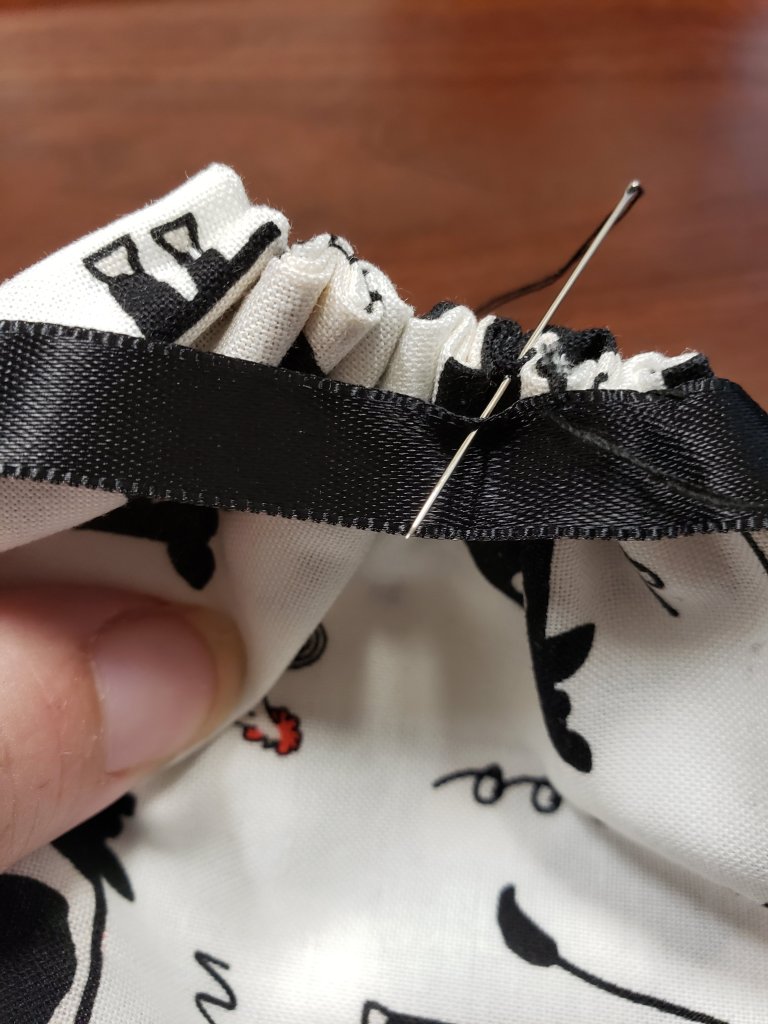
Align the middle of the length of the tie to the start of your mask. You might want to match your thread to the tie so that it doesn’t show.
Now, start inside the fold of the first gather, you can bring your needle up and catch just the edge of your tie. Then take needle and pull the thread all the way through. Then at the next fold of the gather, take the needle through from the bottom up and through the edge of the tie. By moving from fold to fold of the gather, it keeps your stitches pretty uniform.


Tie off your thread and you have one side complete.
Repeat on the second side and you are pretty much done.

With ribbon, it’s easy to tie so that it slips over your ears, if you don’t want to tie every time.

