Halloween · Seasonal Projects

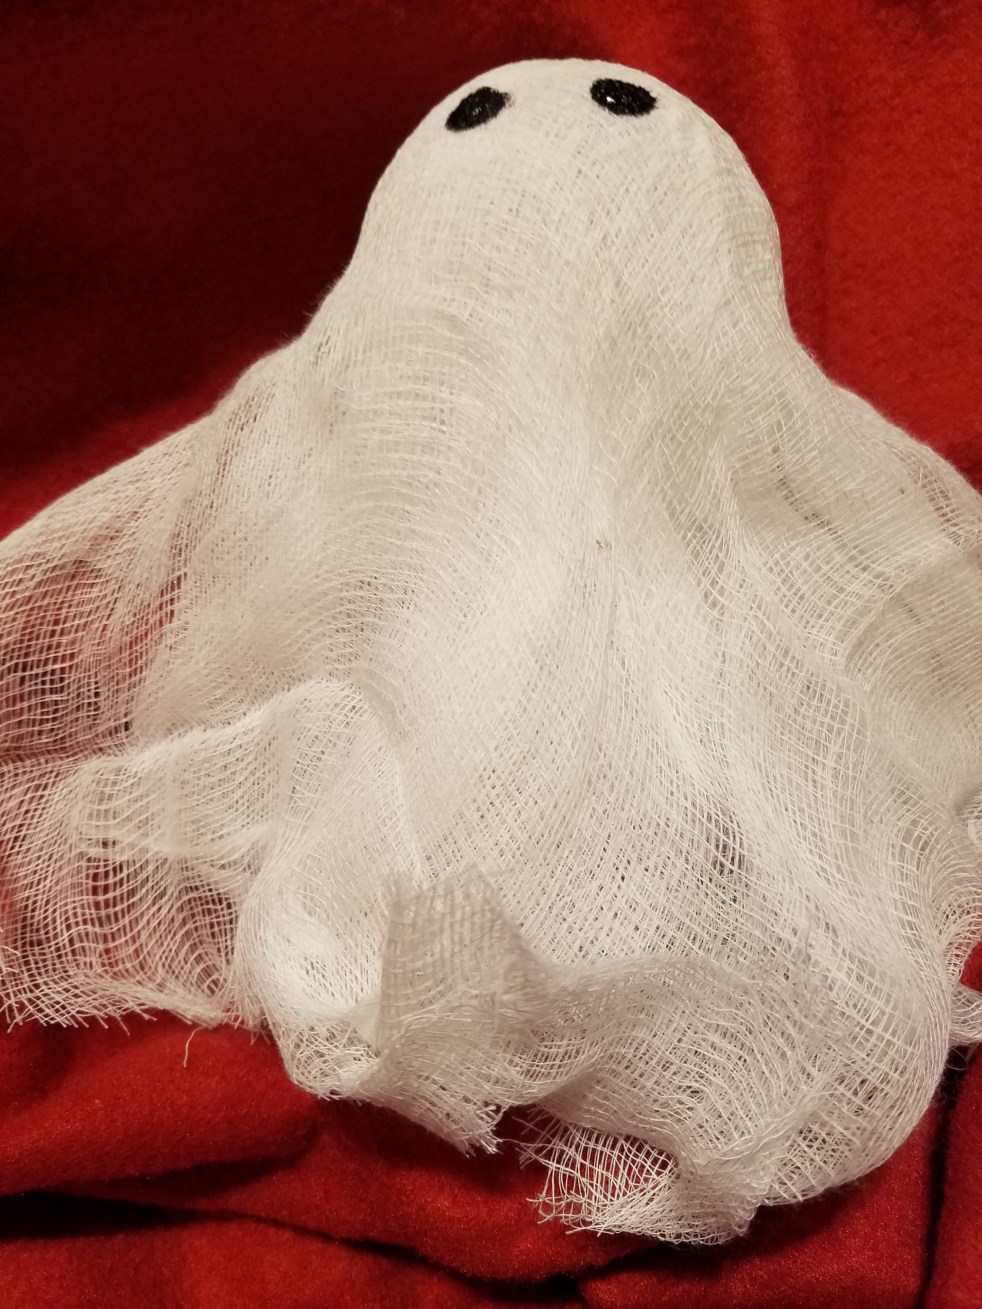
Turn Solar Lights into Ghostly Halloween Decorations

wp-1476979600742.jpg

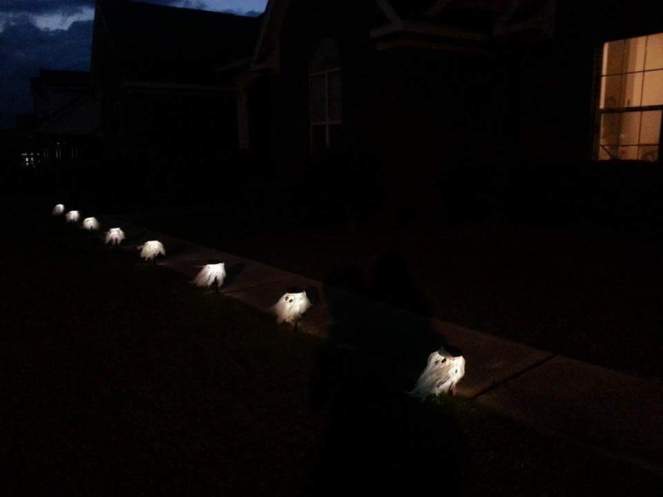
If you have solar path lights, this is an almost free way to turn them into decorations at Halloween.  I did this a couple of years ago and received a lot of compliments on the effect.  The solar light illuminates the bags and they sway with the wind for a nice Halloween effect.
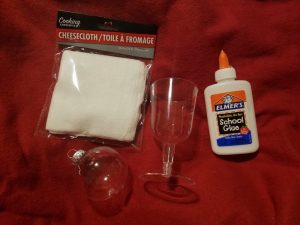
Supplies

  • white plastic shopping bags
  • string or rubber bands
  • any kind of stiff plastic that can be cut into circles for the eyes, preferably black

Start by cutting the plastic shopping bags into long strips about 1-1/2 inch wide.  Keep in mind that you are going to fold the strip in half to add to the ghost, so keep the strips long enough for your light height. You can cut the bag side-to-side or top-to-bottom depending on how long you need the strips. Note: you might try to cut your bags to minimize the printing that ends up on the project, but a little won’t hurt the glowing ghost effect.

Once you have your strips, cut the string or get the rubber band and make sure the size will go around your solar light.  Start adding the strips of plastic to the string.

  1. Fold the strip in half and place the fold over the string/rubber band.
  2. Pull the tails of the strip through the loop made by the fold of the strip.
  3. Pull until the strip is secure to the string/band, but not super tight.  You want to be able to easily slide the strip to make room for more.wp-1476999410441.jpg
  4. Keep adding strips until you have enough to encircle the solar light.
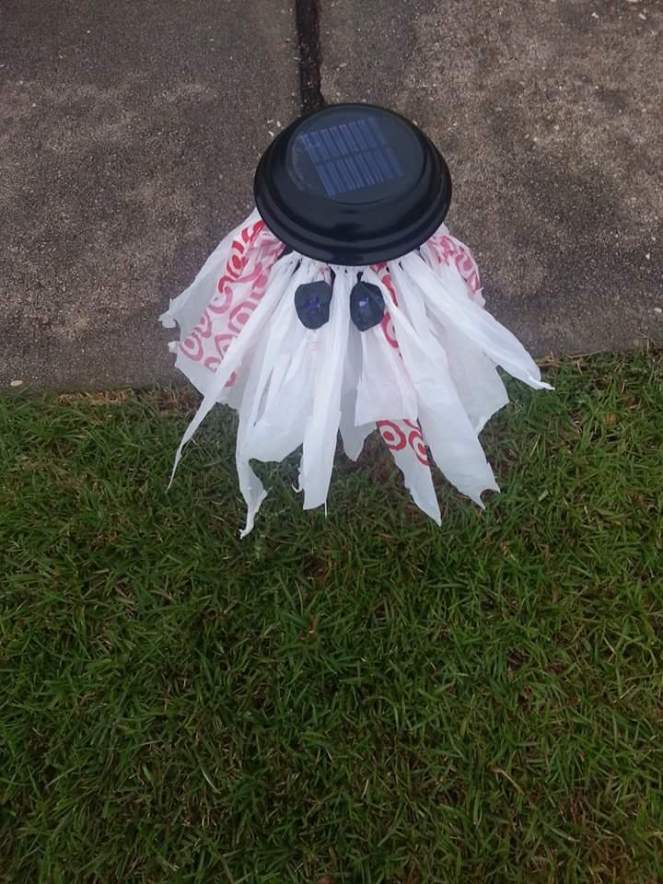
  5. Now cut a circle of stiff plastic that can be added to make the eyes of the ghost.  You can use an old soda bottle that you color black with paint or marker (waterproof).
  6. Cut two parallel lines in the center of the circle that you can thread one strip of the plastic through.  Slide the eye into position on the strip.  You can tie the plastic strip to hold the eye where you want it.
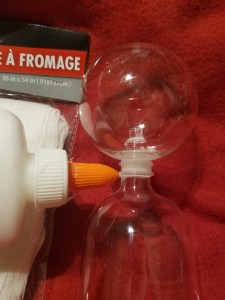
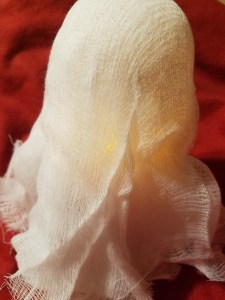
  7. Now place your ghost around the glass part of the solar light so that when night comes, the light will diffuse through the bag giving the ghosts a nice glow.  Be sure that you do not cover up your solar cell.

wp-1476979614654.jpg

This is a very easy and inexpensive way to add a little Halloween spirit to your lawn.


Halloween · Seasonal Projects

Ghostly Halloween Tabletop Decorations

20161011_232957

I volunteered to help out with decorations for my son’s first grade Halloween party. I wanted to craft some of these, rather than just buying all pre-made decorations. One idea came to me when I was looking around at my local Dollar Tree. I had originally thought about making some hanging ghosts with styrofoam balls and cheesecloth, but when i saw the battery tea lights, I thought it would be cool if i could have them light up. So this is what i came up with:

  • Clear plastic Christmas ornament
  •  Clear plastic wineglasses (with detachable base)
  •  Cheesecloth
  •  Battery operated tea lights
  • Glue (school glue oe similar)
  •  Black paint or markers or other option for ghost eyes

20161011_204138

First, I took the hanger off the ornament and the base off the wineglass. Turn the wineglass upside down and then use a little glue to secure the ornament to the wine glass stem.20161011_204226

Cut the cloth into squares and rectangles that will drape the right size over the form. Make sure that the piece you finish with completely covers the form for the ghost.  Separate the layers of cheesecloth and drape them smoothly over the form. You want to make sure that you separate the layers because that is going to give volume to the ‘skirt’ section of the ghost.

Put glue on the christmas ornament for what will be the top of the ghost head.  Drape the layers over the ball and shape the layers to the top of the ball.  Your hands might get a little glue on them at this step.  I suggest using School Glue or similar. You can just wash it off when you are done. Plus the school glue will absorb into the cheesecloth helping to maintain the shape.


20161011_204245
The ghost takes shape from the layers of cheese cloth.

After you give the glue time to dry, you can add eyes to your ghost. You can glue on circles of black felt, add googly eyes, or use paint or markets to create eyes. Note: the black marker bleeds and doesn’t make sharply defined edges. I liked paint foe the eyes. I did not even use a brush. I used an acrylic paint in a tube. The opening of the tube was just the size i wanted for my eye, so i put the tube opening right on the fabric at the site i wanted the eye and gave a gentle squeeze to leave just a dot of paint on the ghost.


You are almost done! If you want to add eerie flickering light to your ghost, grab some battery operated tea lights. You can place it under the wineglass without securing it, or if you want the light to originate higher in the ghost you can secure it higher in the bell of the glass. I did not want to permanently adhere the tea light, so i used cardboard to make a holder for the tea light.

20161011_204431
Lights inside give the ghost an eerie glow!


Place a wineglass you havent yet used to make a ghost (or you can use your ghost bottom) to draw the circumference of the circle onto the cardboard. Then place the tea light into the center of your circle and trace its circumference. You should then have two circles, one inside another one. Cut the circles out. Make sure the ring fits snuggly around the tea light. You can then secure the tea light within the bell of the glass. If you need to remove it to add a new light, it should pull free of the cardboard easily and let you replace when the battery dies.

Cost breakdown:
I purchased all the supplies for this craft at the Dollar Tree with the exception of glue and paint which i had on hand.
3 – Christmas ornaments (2 pack) $3.00
3 – packages of cheesecloth. $3.00
3 – battery tea lights (2 pack) $3.00
1 – plastic disposable wine glasses (6 pack) $1.00

Total cost $10.00 for 6 ghosts.

Please give feedback on this project!